Your 4-Step Guide to the GoPro Labs Update Mac (Expert Tips Included)

This step-by-step guide will assist Mac users in executing the GoPro Labs update Mac process, leveraging the full potential of their devices (Win/PC users look here). Here’s how you can go about it!
Prepping for Your GoPro Labs Firmware Update on Mac
Before you immerse yourself in the GoPro Labs firmware update, gather the essentials:
- HERO12 Black, HERO11 Black, HERO11 Black Mini, HERO10 Black, GoPro MAX, HERO9 Black, HERO8 Black, HERO7 Black, or HERO5 Session camera: Ensure you have one of these models at hand.
- Well-charged battery: A battery level of at least 50% is recommended to prevent interruptions during the GoPro Labs update Mac.
- microSD card with an adapter: Note that USB connections won’t work for this update; the microSD card is a must.
- A modern Mac computer: Pretty much anything from this century will do for the GoPro Labs update Mac download!

Step 1: Fetch the Latest GoPro Labs Firmware from GoPro Labs
Initiate your process by navigating to the GoPro Labs page to download the latest GoPro Labs firmware update. Since we’re focusing on Mac users, make sure to choose a location on your Mac where you can easily retrieve the GoPro Labs update Mac download latest version file.
Step 2: Setting the Stage with Your microSD Card
Next, it’s time to gear up your microSD card for the GoPro Labs firmware download. Here’s how:
- Insert your microSD card into the adapter.
- Connect the adapter to your Mac, preparing it for the GoPro Labs update Mac.

Step 3: Transferring the GoPro Labs Firmware Files
After prepping your microSD card, you’ll transfer the files needed for the GoPro Labs firmware update. Here’s your step-by-step playbook:
- Unzip the LABS_HEROxx_aa_bb_7x.zip file to unveil the “UPDATE” folder, a crucial step in the GoPro Labs update Mac process.
- Identify the following trio inside: CAMFWV.bin, DATA.bin, and FWUPD.txt (or files with similar names).
- Copy the entire “UPDATE” folder to the root directory of your microSD card, steering clear of copying the zip file or any other folders.
Your microSD card should now contain a structure resembling this, ready for the GoPro Labs firmware update:
[Root directory of your microSD card]
 └── UPDATE (folder)
      ├── CAMFWV.bin (file)
      ├── DATA.bin (file)
      └── FWUPD.txt (file)
Step 4: Finalizing the GoPro Labs Update on Your Camera
You’re nearing the finish line! It’s time to update your GoPro camera with the GoPro Labs firmware. Follow these steps:
- With the camera powered off, insert the loaded microSD card into it.
- Power on the GoPro camera, initiating the GoPro Labs update Mac.
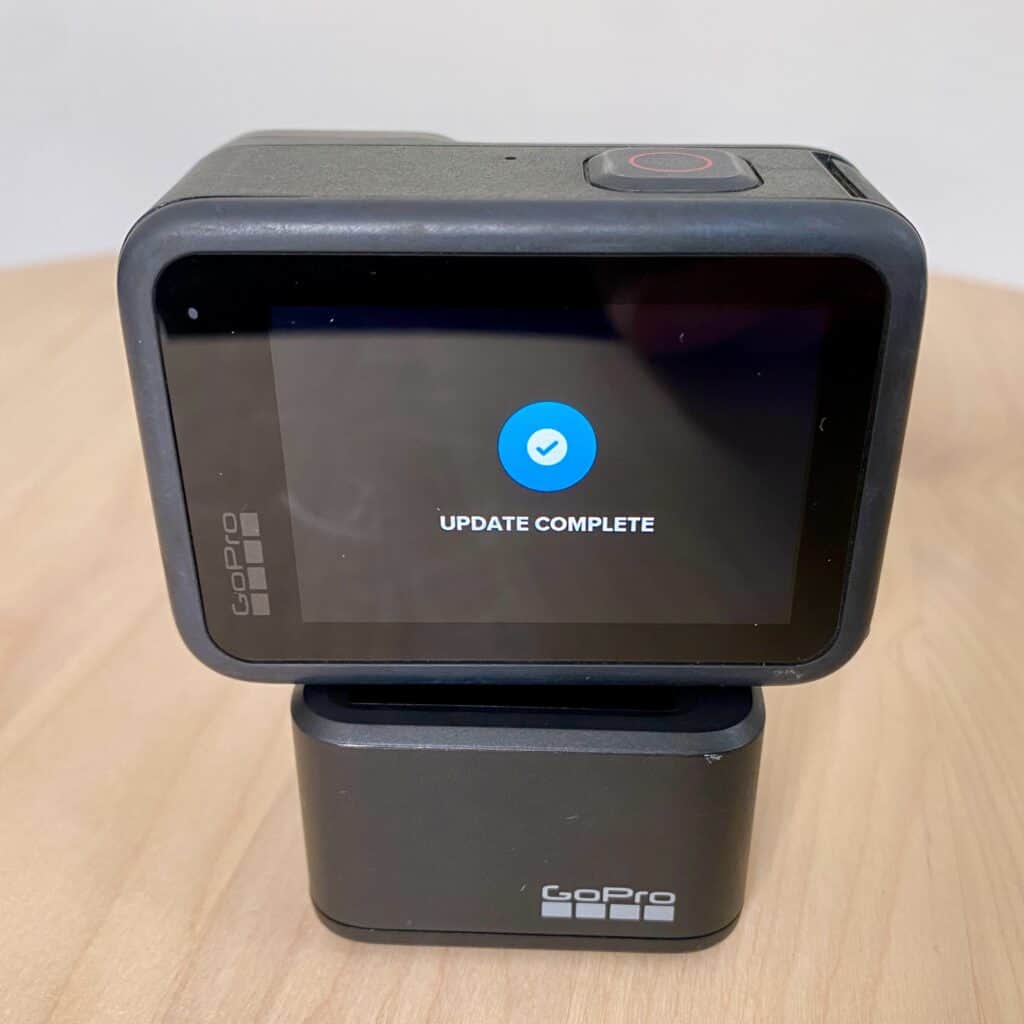
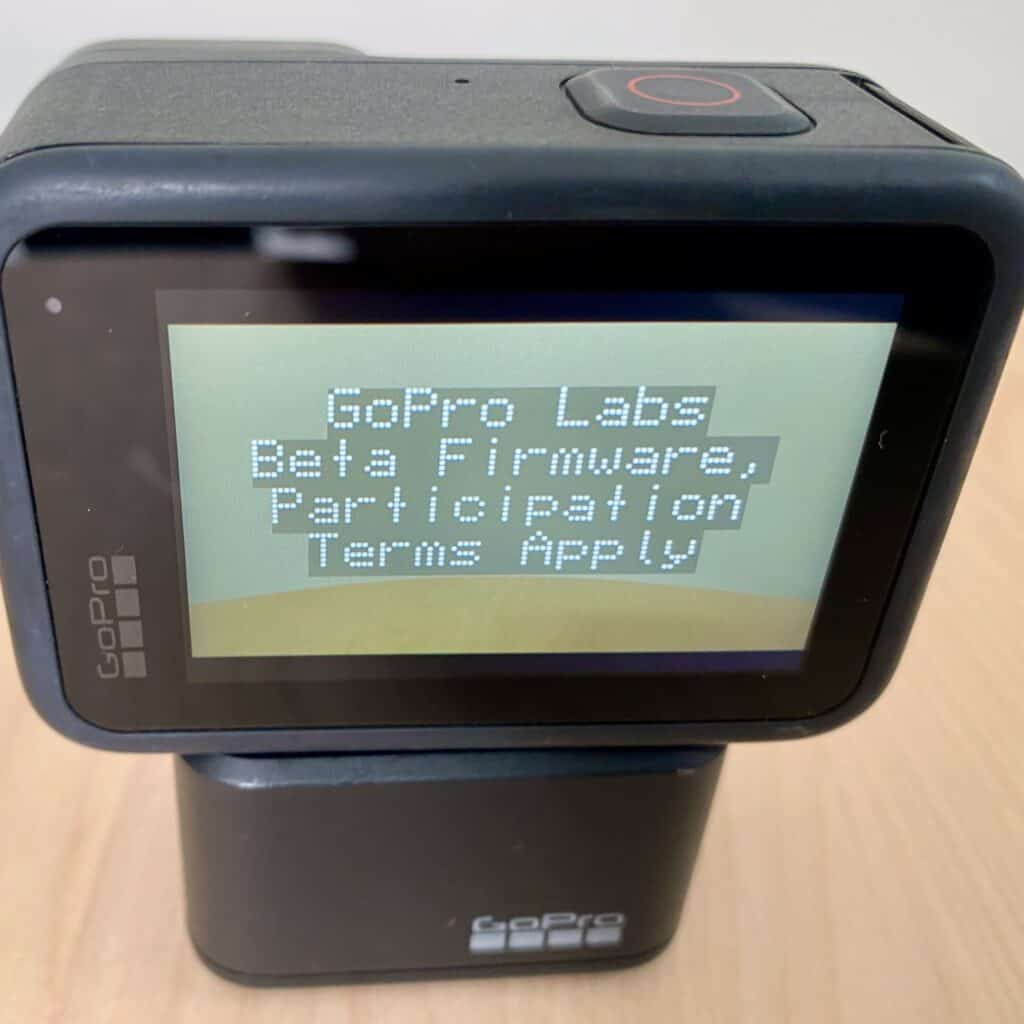
As your GoPro camera receives the update, it will beep and reboot several times, showcasing a check mark on the front screen upon successful completion of the GoPro Labs firmware update.

However, if the update fails, indicated by a “CAMERA UPDATE FAILED” message, simply remove and reinsert the battery, and repeat the procedure from the top, ensuring a successful GoPro Labs update Mac.

And there you have it! A detailed, step-by-step guide curated from our wealth of experience at Yogageek, guiding you through the GoPro Labs update Mac process. Stay tuned for more expert advice, and here’s to capturing life’s precious moments without a hitch! Happy filming!
Further Reading
- The 2023 QRControl Guide to Mastering the GoPro Labs Mobile App in 10 Steps
- Your Overview of GoPro Labs Features and Camera Compatibility
- Master the GoPro Labs Update for PC in 4 Easy Steps (2023 Edition)
- GoPro Labs Reset: Your How-To Guide for a Fresh Start
- How to Remove GoPro Labs Firmware on PC: A Step-by-Step Guide


