Enhancing Your GoPro Journey: Installing GoPro Labs Firmware Made Simple for Mac

This step-by-step guide will assist Mac users in executing the install GoPro Labs Mac process, ensuring an easy and trouble-free GoPro Labs install process (Win/PC users look here). Here’s how you can go about it!
Gear Up: Securing the Essentials
Before we start with the GoPro Labs firmware download and installation process, here’s what you will need:
- HERO12 Black, HERO11 Black, HERO11 Black Mini, HERO10 Black, GoPro MAX, HERO9 Black, HERO8 Black, HERO7 Black, or HERO5 Session camera: Ensure you have one of these models at hand.
- Well-charged battery: A battery level of at least 50% is recommended to prevent interruptions during the GoPro Labs update Mac.
- microSD card with an adapter: Note that USB connections won’t work for this update; the microSD card is a must.
- A contemporary Mac computer: Pretty much anything from this century will do for the GoPro Labs installation on Mac!
Step 1: Initiating the GoPro Labs Firmware Download for Mac
Begin your journey to enhanced functionality by initiating the GoPro Labs firmware download compatible with your GoPro model from the official GoPro Labs page.

Step 2: Prepping the microSD Card for the GoPro Labs Install on Mac
In this step, we focus on getting the microSD card ready for the GoPro Labs install on a Mac system:
- Insert your microSD card into its adapter.
- Connect the adapter to your Mac.

Step 3: Facilitating the File Transfer for GoPro Labs Install on Mac
Let’s proceed with moving the critical files for those keen on a GoPro Labs install on Mac:
- Unzip the LABS_HEROxx_aa_bb_7x.zip file to unveil an “UPDATE” folder.
- This folder houses files such as CAMFWV.bin, DATA.bin, and FWUPD.txt, or others that are similar.
- Copy the entire “UPDATE” folder (not just individual files) to your microSD card’s root directory.

Step 4: Implementing the GoPro Labs Firmware on Your Camera
With preparations complete, it’s time to install the GoPro Labs firmware on your camera:
- Turn off your GoPro camera.
- Slot the microSD card loaded with update files into the camera.
- Turn your GoPro back on.
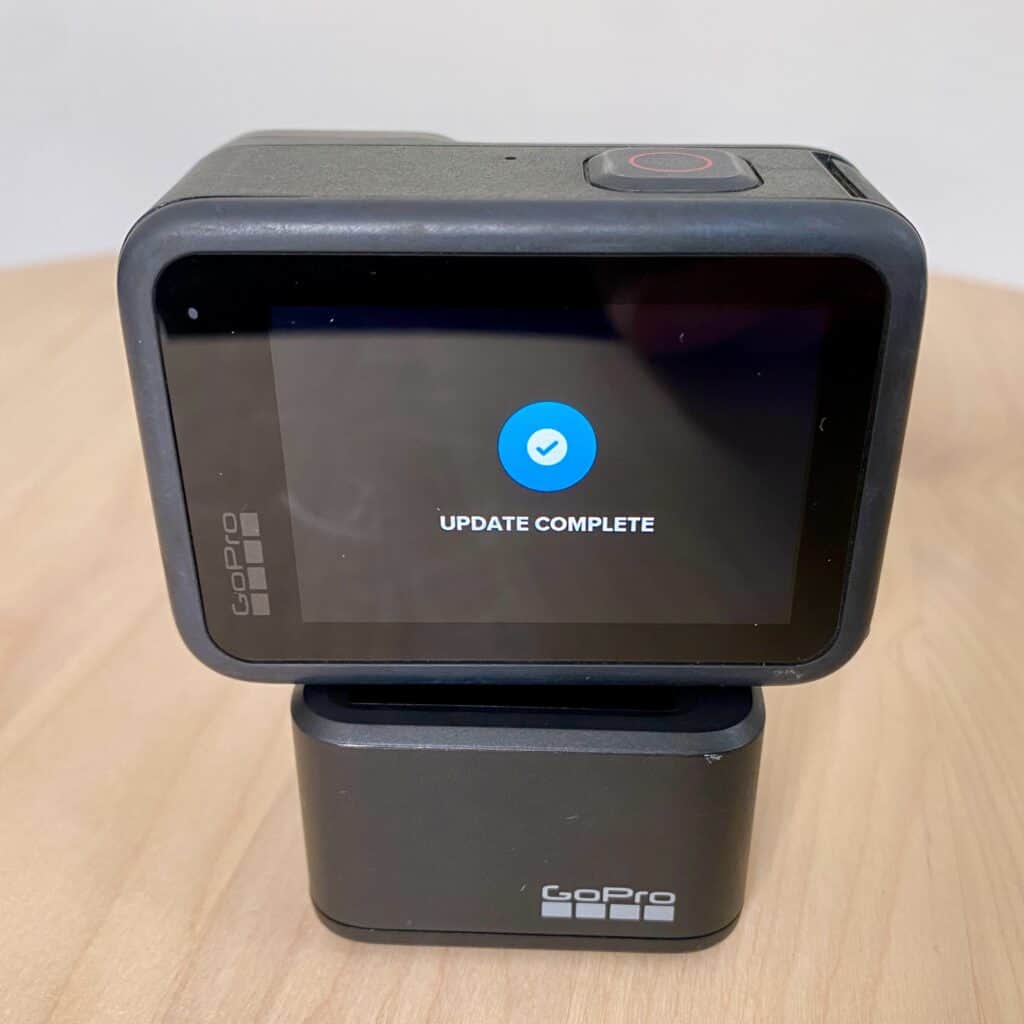
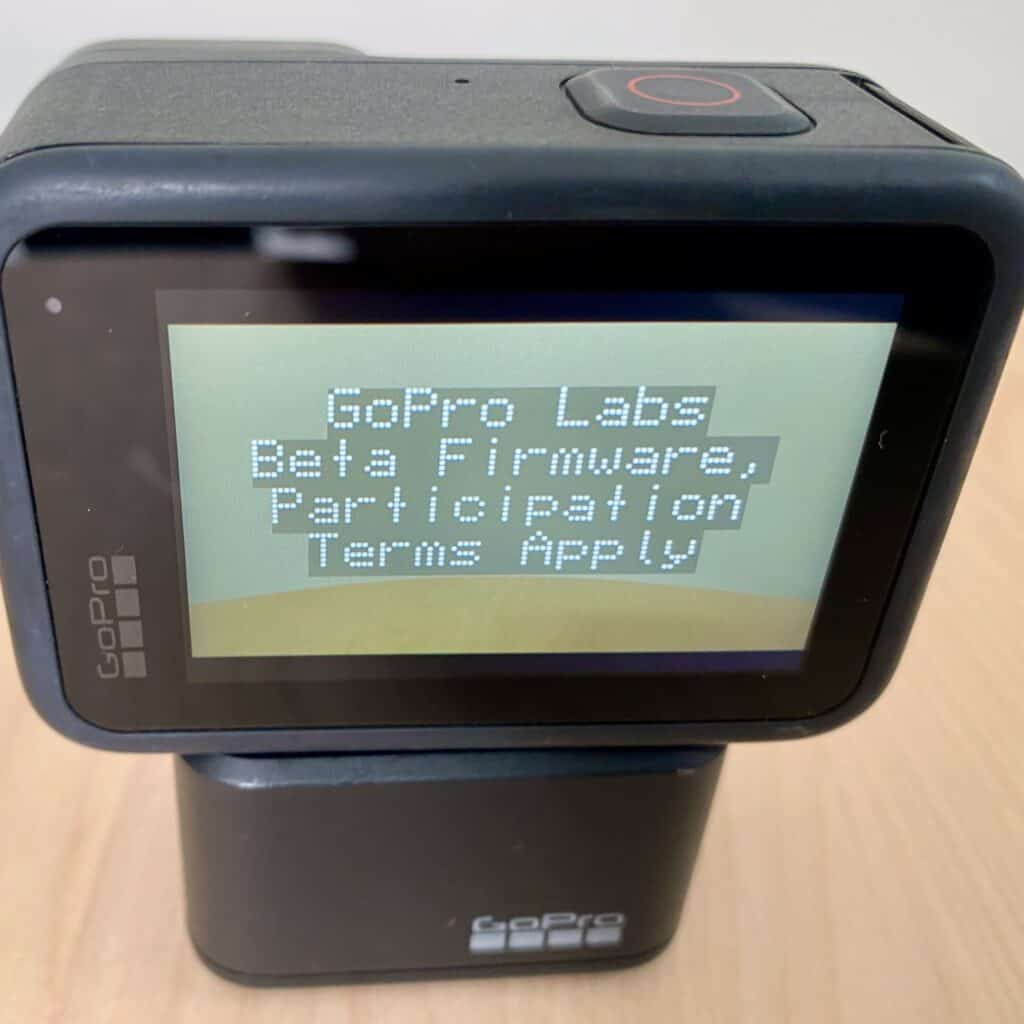
You will know the GoPro Labs firmware update is ongoing with a series of beeps and automatic power cycles. A checkmark appearing on the front screen signals the successful installation.

Note
In case you encounter a hitch, you can start afresh by removing and reinserting the battery, then initiating the update process again from step one.
Wrapping Up: Your GoPro is Now Upgraded with GoPro Labs Firmware
Congratulations! Your GoPro camera is now upgraded, promising a more efficient operation with the latest GoPro Labs firmware. You are now prepared to record with renewed vigor and possibly discover new features to enhance your recording experience further.

As you embark on this renewed journey with your upgraded GoPro, you might be curious to delve deeper and explore the myriad of features unlocked with the new firmware.
Revisit this guide anytime you wish to update your GoPro Labs firmware to the latest version. Enjoy capturing each moment with enhanced clarity and functionality!
Further Reading
- The 2023 QRControl Guide to Mastering the GoPro Labs Mobile App in 10 Steps
- Your Overview of GoPro Labs Features and Camera Compatibility
- Master the GoPro Labs Update for PC in 4 Easy Steps (2023 Edition)
- GoPro Labs Reset: Your How-To Guide for a Fresh Start
- How to Remove GoPro Labs Firmware on PC: A Step-by-Step Guide


